
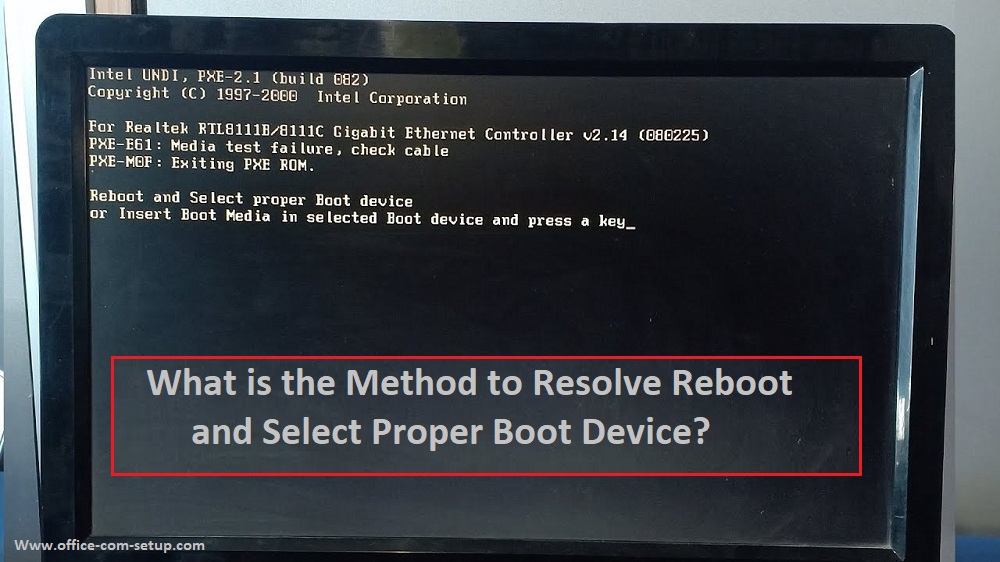
If the user is facing Reboot and select Proper Boot Device error, then it will stop Windows from starting. This error occurs because of wrong BIOS setting like wrong booting order or hardware failure etc. In this blog, you will read the causes and method to fix Reboot and select Proper Boot Device. For assistance, go to Www.office.com/myaccount.
Causes of Reboot and Select Proper Boot Device:
The causes of Reboot and Select Proper Boot Device are the BIOS setting and the hardware failures. The other reasons are if you have chosen the wrong hard drive to boot, if the boot order is wrong, if you find there is hard drive failure, in case the Legacy Boot option is enable or disable, and also if the hard drive is not detected from which the Window is set to boot from.
Method to Resolve Reboot and Select Proper Boot Device:
1. Enable or Disable Legacy Boot:
For this, you should Restart the computer system and then enter UEFI settings. After this, you should search the Legacy Boot option. Now, you have to enable or disable Legacy Boot and then save changes. Next, you need to Restart your computer system. At the end, just check if the problem disappeared. If this error message displays on a new PC, and then you must check the UEFI settings.
2. Change Boot order in BIOS:
First, you have to Restart the PC and then enter BIOS. For this, you should press the BIOS shortcut key of your device like F2, F10, F12, Delete, Esc, etc. Now, you should select the Boot section. Here, you should check the order of boot devices. At this point, you should set Hard Disk Drive (HDD) as the primary boot source. Next, you need to tap on F10 key to Save and Exit. At last, hit on Yes button to confirm changes.
3. Use Startup Repair and diskpart:
For Startup Repair, you should insert a Windows installation disk or USB in your device. After this, you should launch BIOS and then visit to the Boot section. Now, you should choose CD-ROM Drive as the primary boot source. At this point, you should tap on F10 to Save and Exit. Then, you have to choose your preferred language, time zone, and also the keyboard layout. Here, you need to tap on Next and Install Now button. Next, you should choose Repair your computer system and then enter Startup Options. The user should tap on Troubleshoot button and then select Automatic Repair. Just you have to select your Operating System and then choose the Administrator account. Here, you should write your account password and then hit on Continue button. At last, restart the computer if prompted.
When this procedure is completed, then problems were diagnosed and if Startup Repair process has fixed them. After this, you have to activate diskpart. First, you should visit to Command Prompt. Then, you should type in
diskpart
Now, in diskpart type in
select disk 0
Here, you need to choose disk A for the section which has your Windows. At this point, you should type in
list partition
Next, you need to type in
select partition 1
And then, just type in
Active
When you set your partition to active, then the error message should be gone.
4. Replace CMOS battery:
To replace CMOS battery, you need to open your computer case. After this, you should find the CMOS battery on the motherboard. Then, you should remove the CMOS battery. Now, you should press the Power button for 10 seconds. Next, you have to insert CMOS battery again. Or, the user can replace their battery with a new one.
Through this way, the user can fix Reboot and select Proper Boot Device issue. For more information, the user can navigate to office.com/myaccount.
Also Read More :- How to Fix If Wi-Fi does not have A Valid IP Configuration?